Policy Management
Edit API Pack Name
THAPI Manager allows you to modify a Policy name to have a different name from the present one.
- Click the respective usage policy.
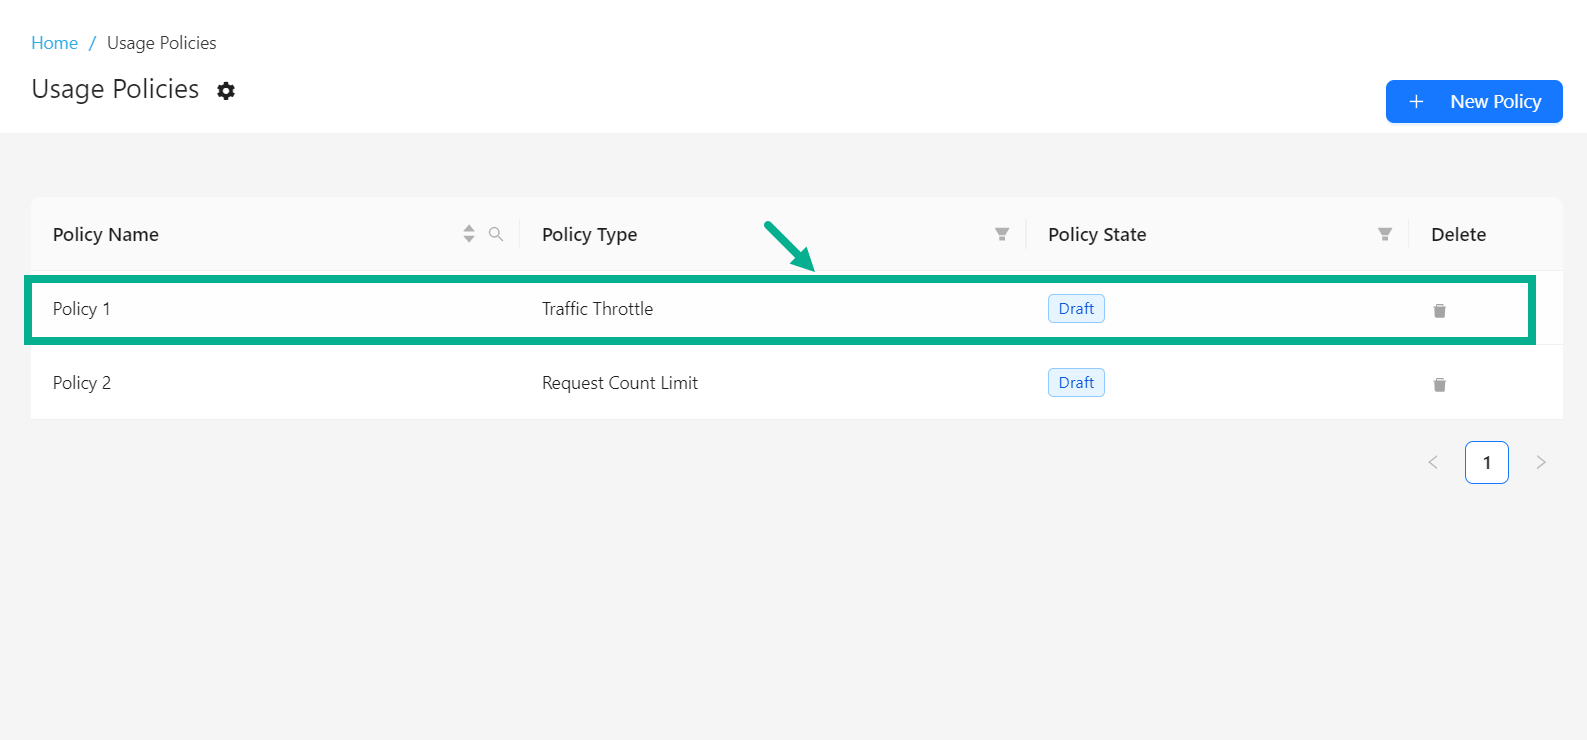
The screen appears as shown below.
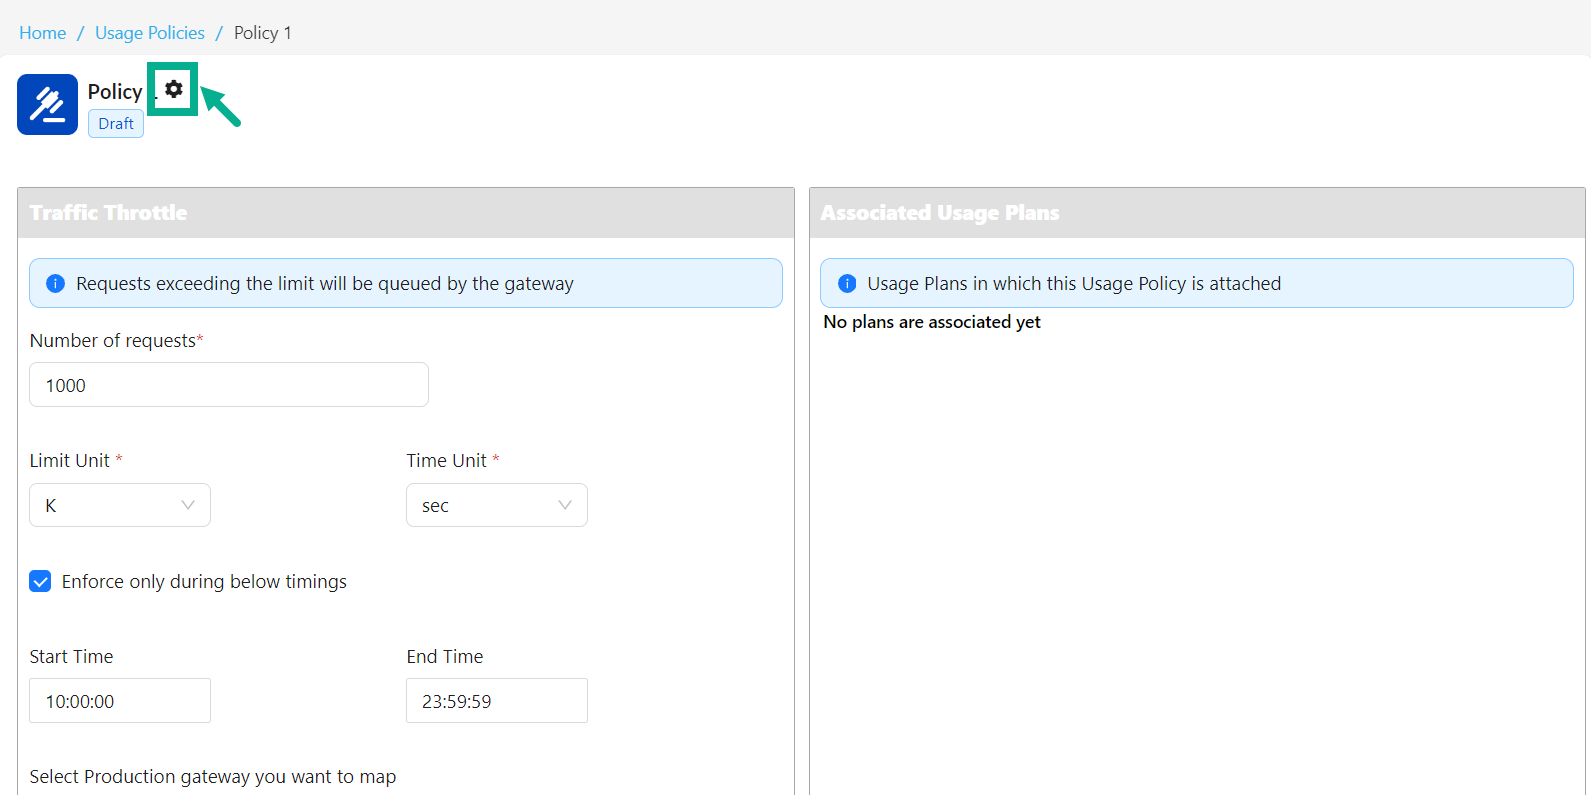
- Click the Cogwheel icon.
The drop down appears as shown below.
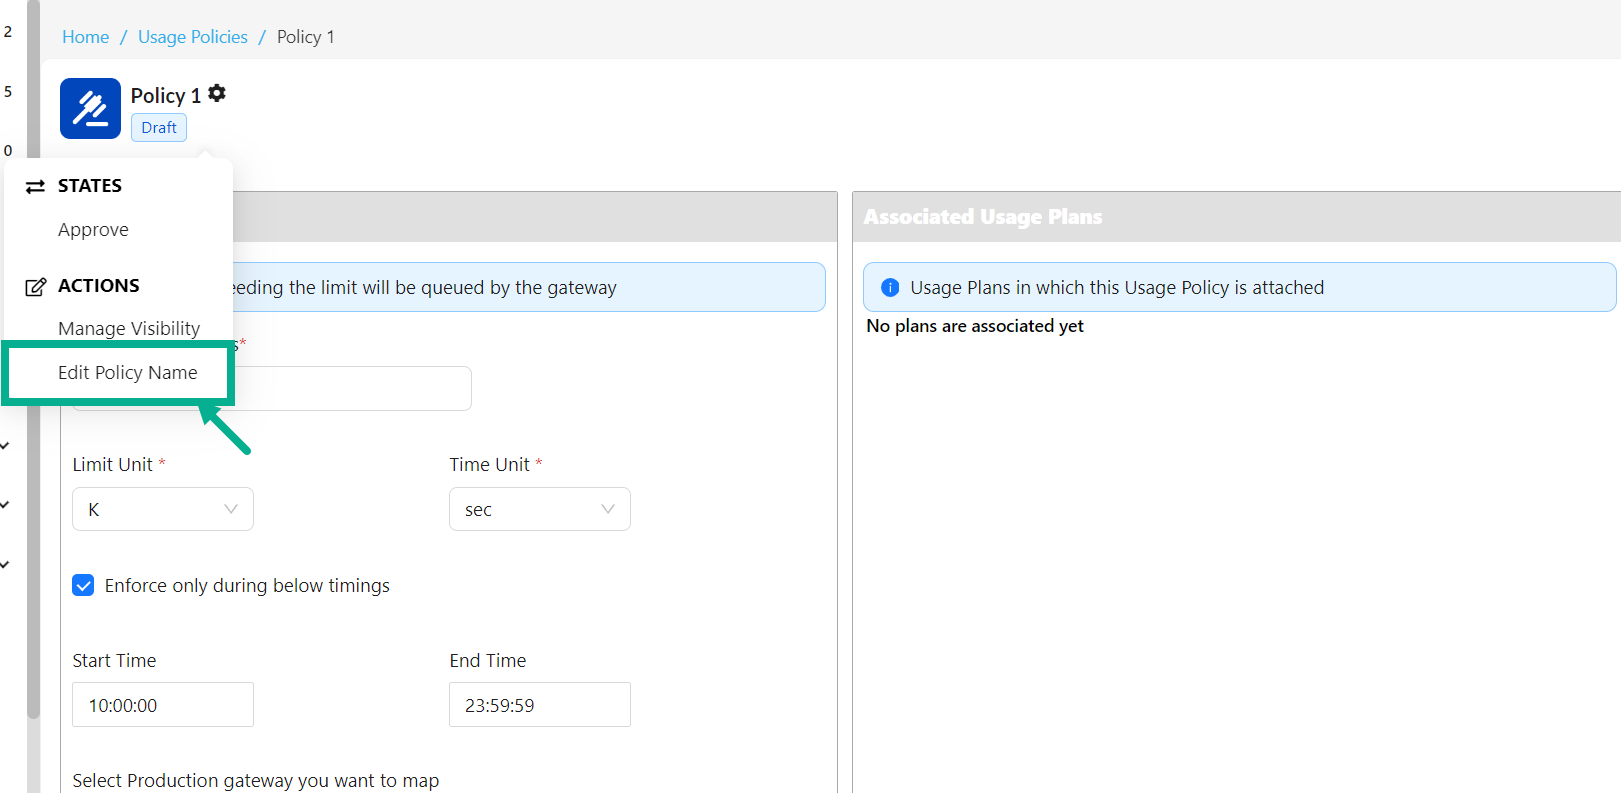
- Click Edit Policy Name.
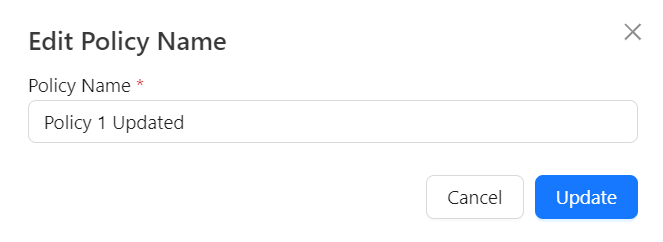
Edit Policy Name dialog box appears as shown below.
-
Enter the Policy Name.
-
Click Update.
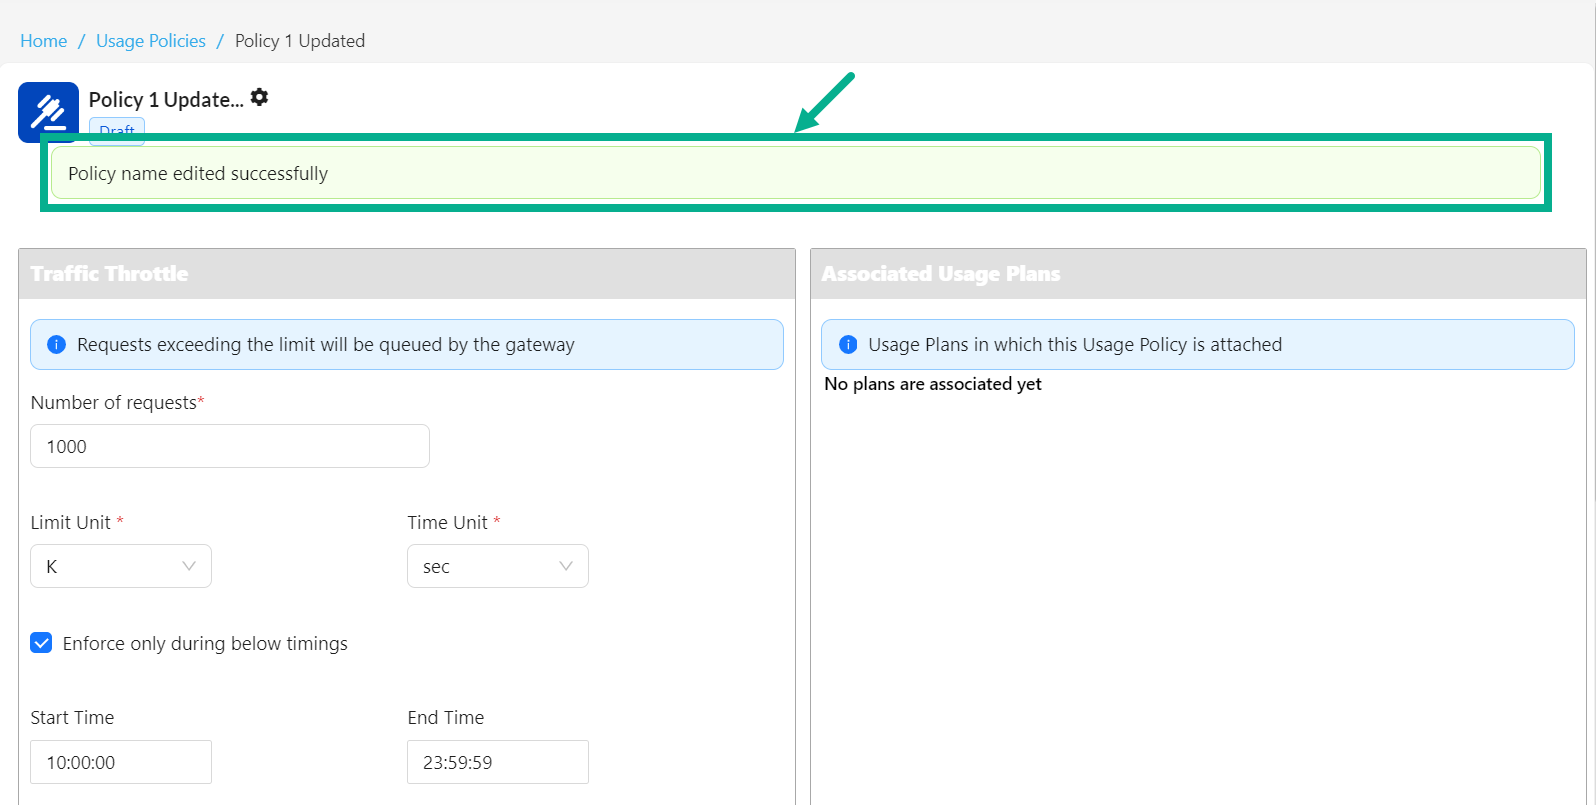
On updating, the confirmation message appears as shown below.
Manage Visibility
- Click the respective usage policy.
The screen appears as shown below.
- Click the Cogwheel icon.
The drop down appears as shown below.

- Click Manage Visibility.
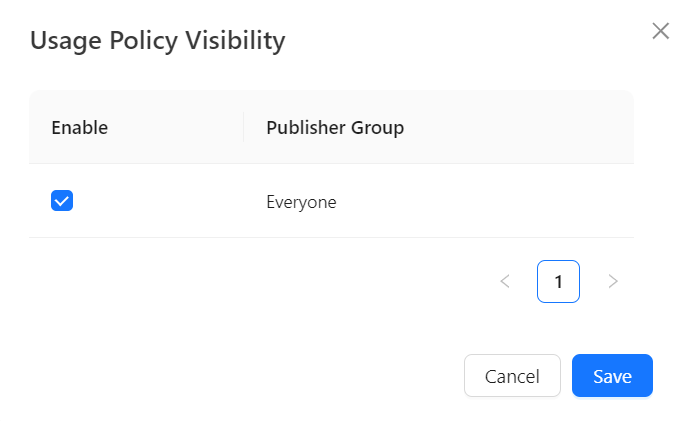
Usage Policy Visibility dialog box appears as shown below.
-
Enable/disable the appropriate checkboxes to enable/disable policy visibility to the Publisher Group as per the requirement.
-
Click Save.
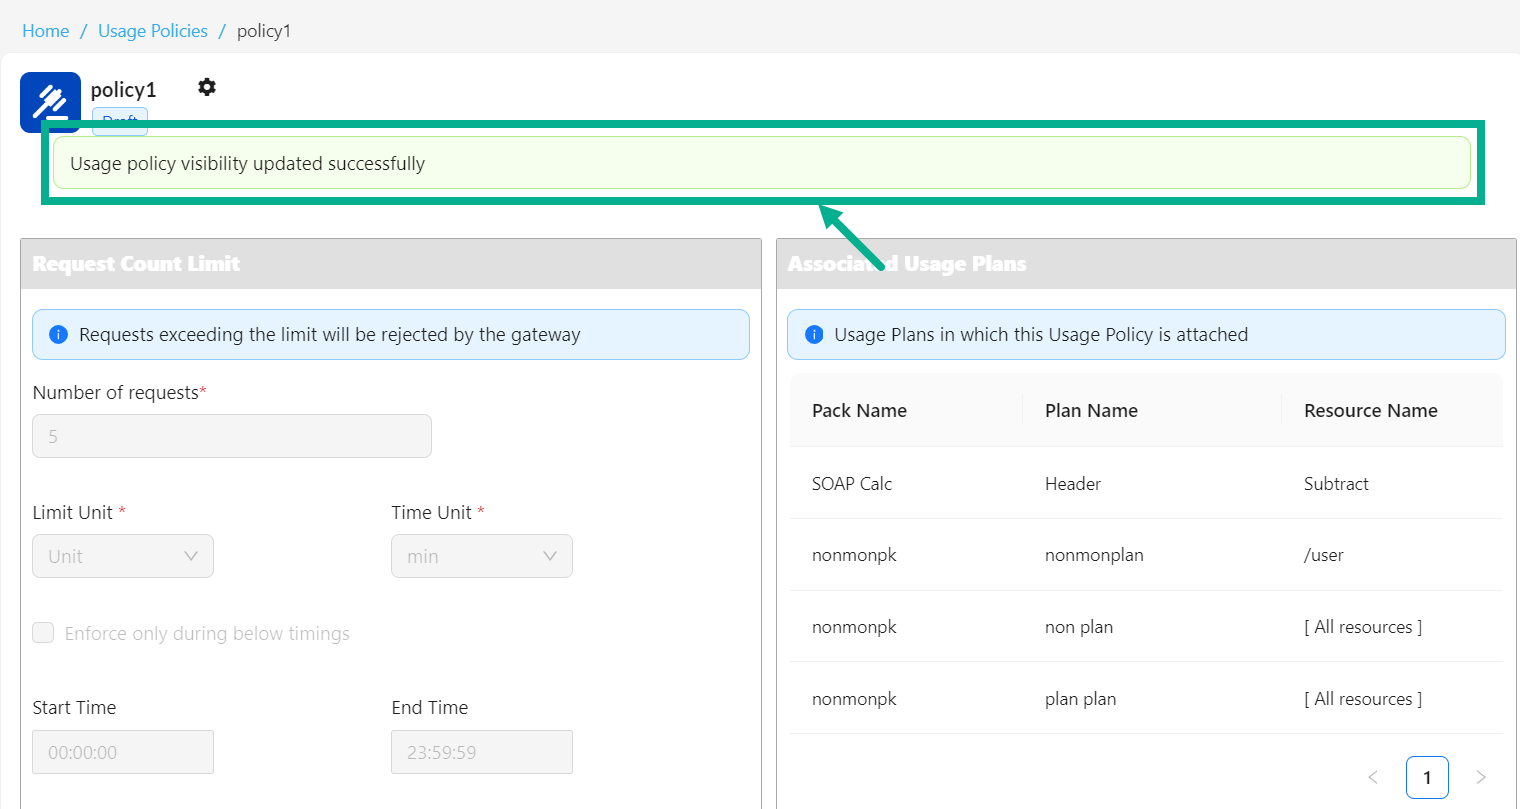
On saving, the confirmation message appears as shown below.
Submit Usage Policy for Approval
Once you've completed creating and updating a Usage Policy, you can submit it for approval so that it can be assigned to a Plan.
- Click the respective usage policy.
The screen appears as shown below.
- Click the Cogwheel icon.
The drop down appears as shown below.
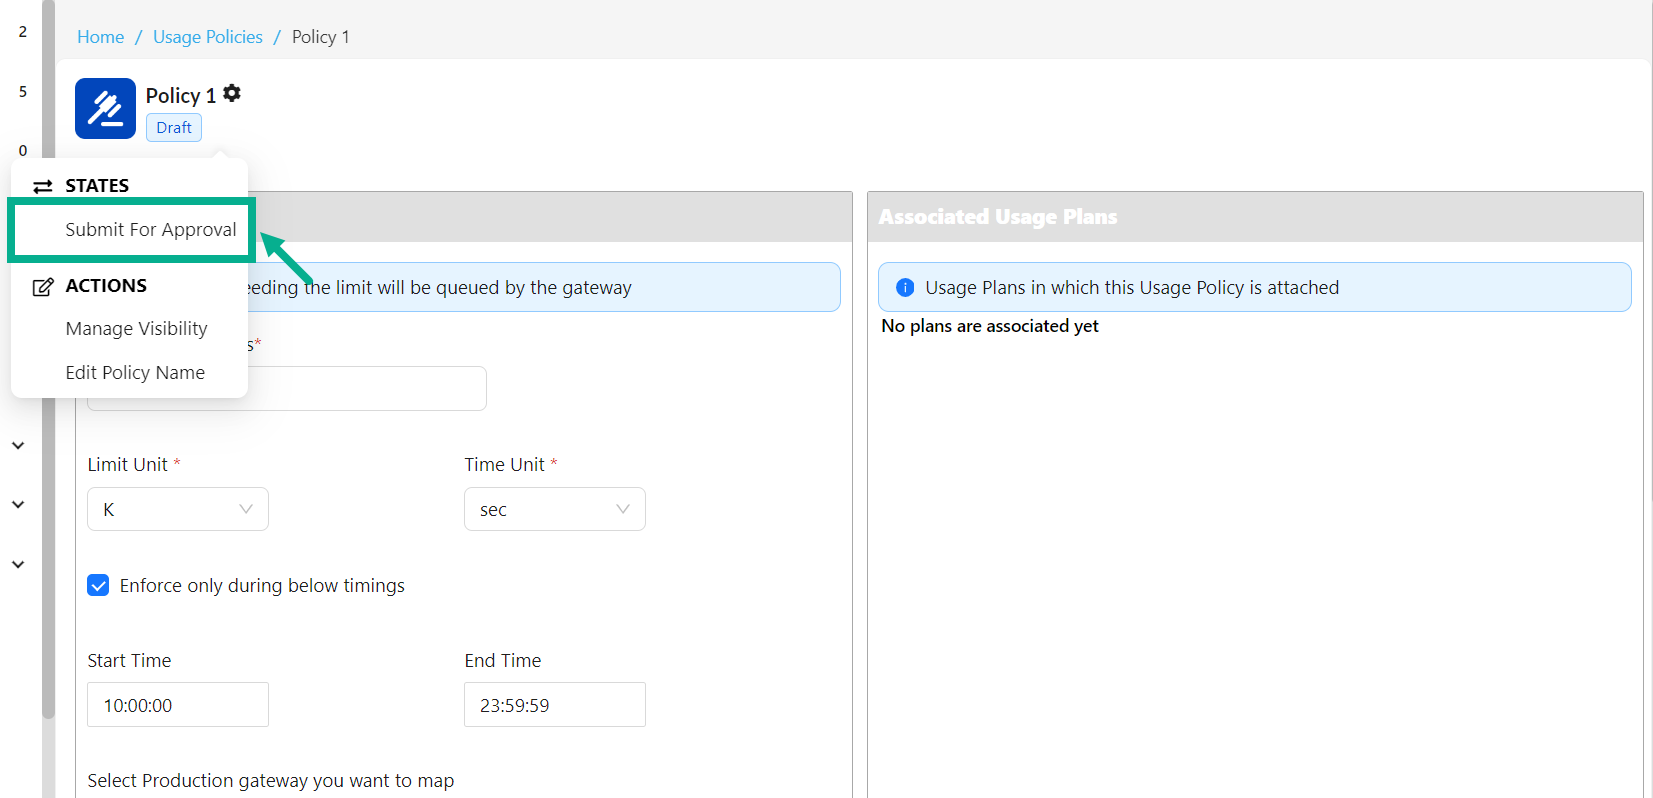
- Click Submit For Approval.
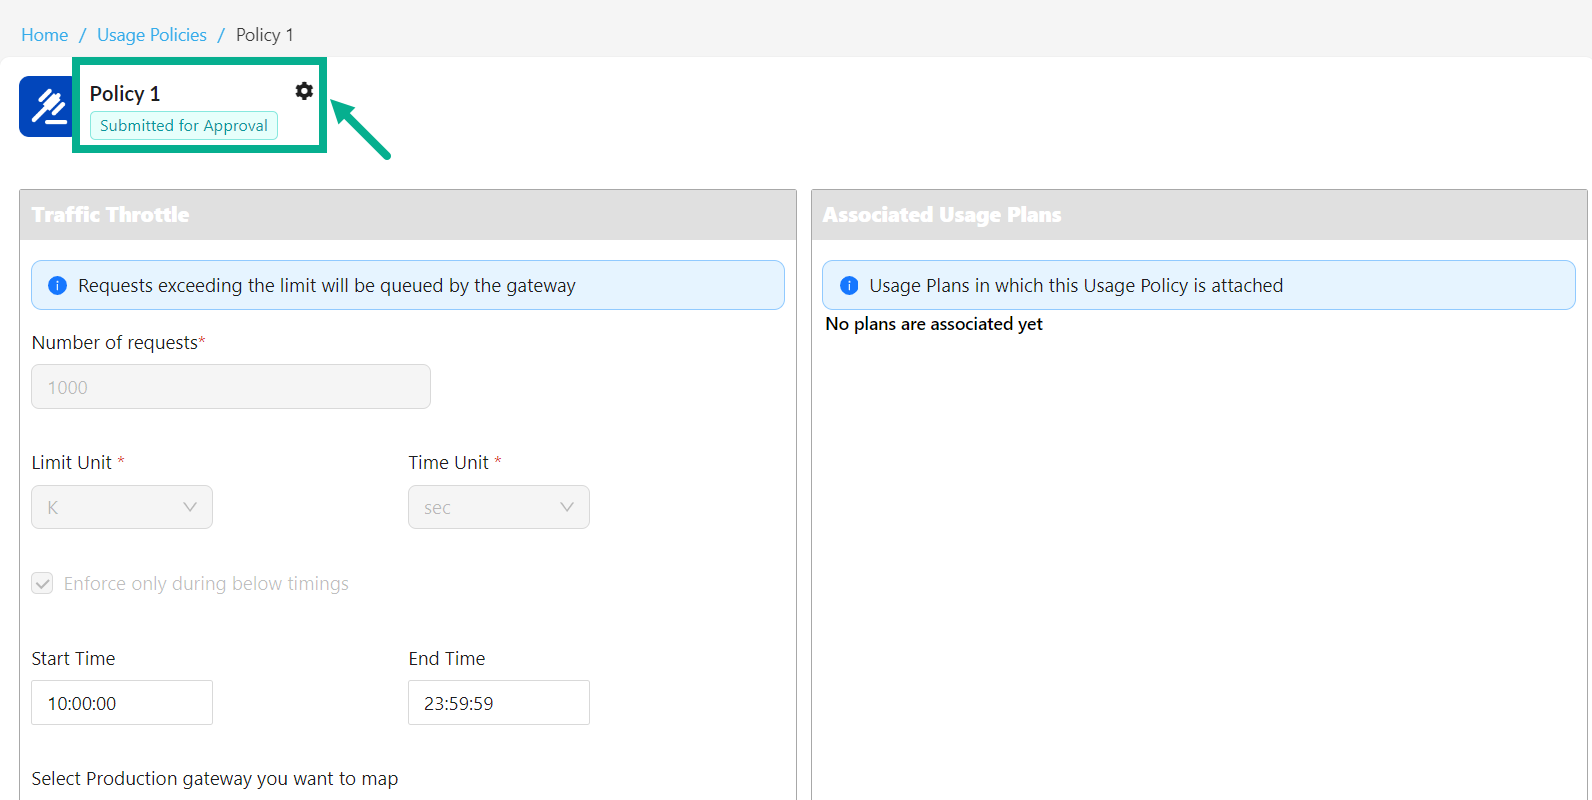
If the login user has the Automatic Approval Workflow enabled, the Approval button will appear instead of Submit For Approval.
- Click Approve button to approve the policy.
On submitting, the policy is updated and displayed as shown below.
Open an Approved or Published Usage Policy for Editing
You can use Open for Editing if you need to update an approved or published usage policy.
- Click the respective usage policy.
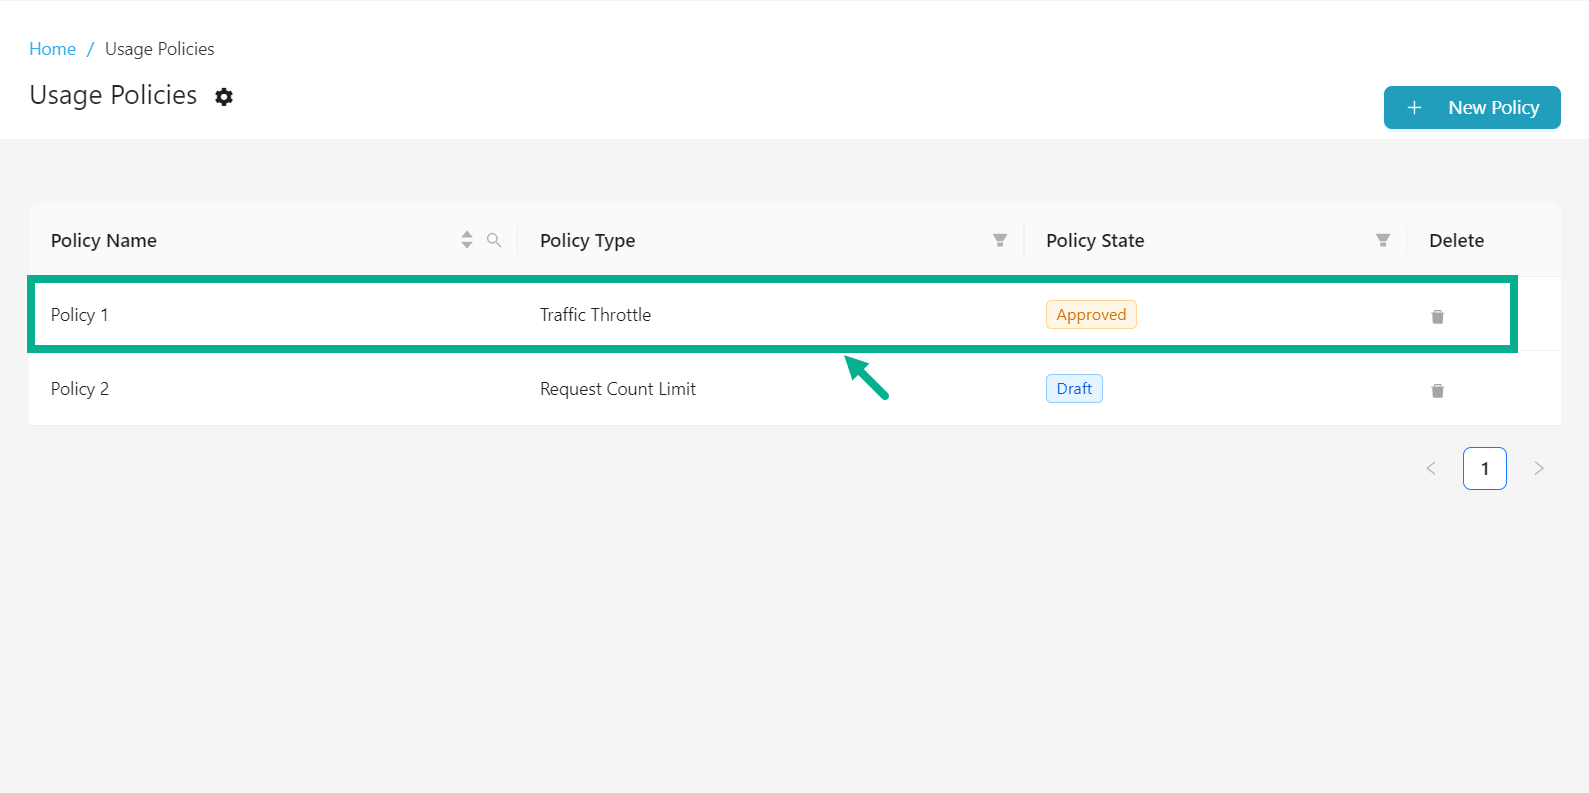
The screen appears as shown below.

- Click the Cogwheel icon.
The drop down appears as shown below.
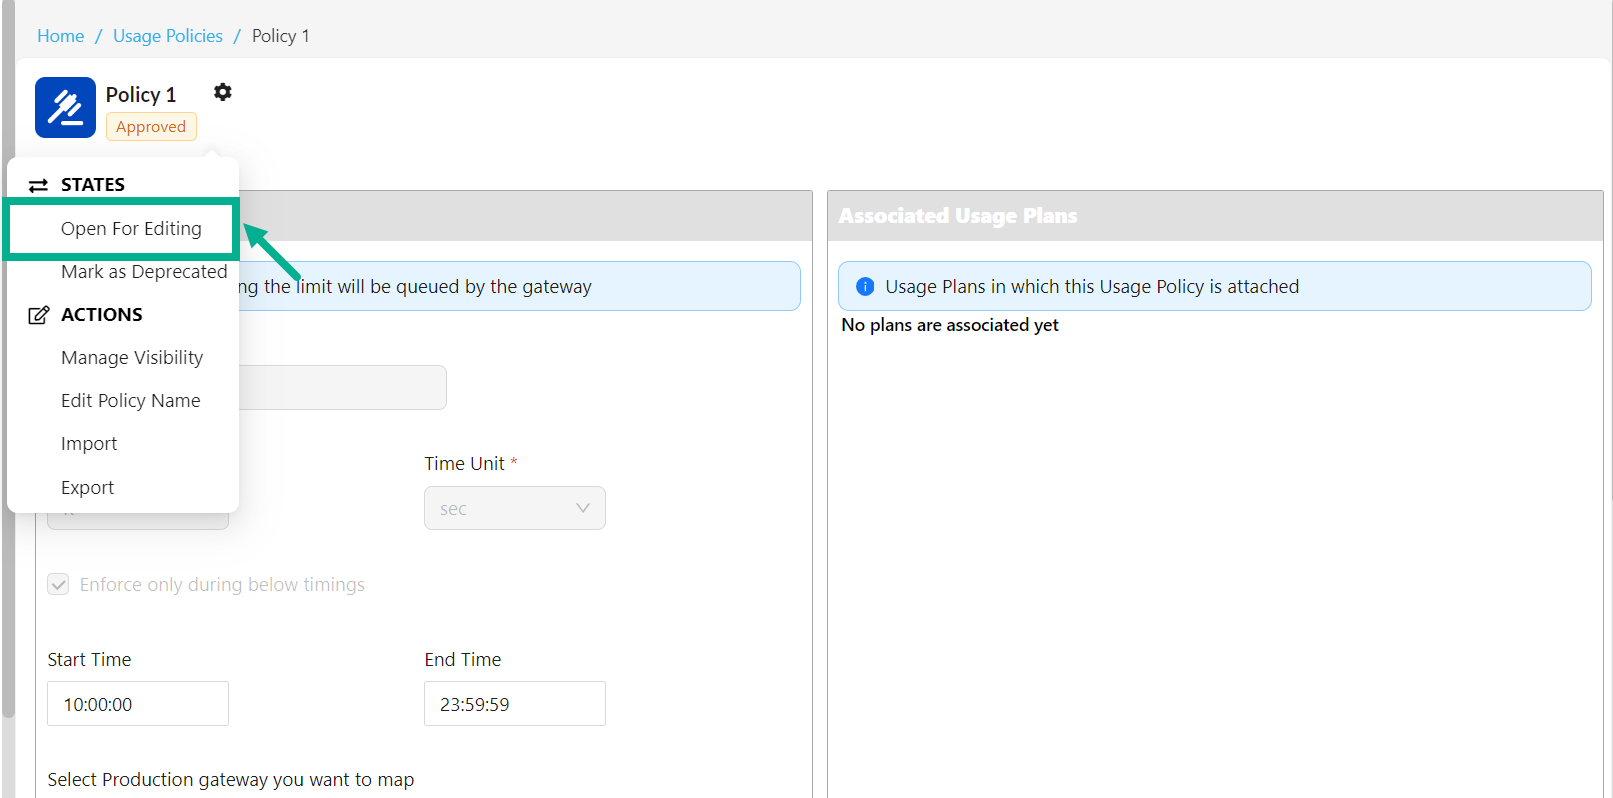
- Click Open For Editing.
On proceeding, the policy is updated and displayed as shown below.

Once approved, the Policy's status changes to Draft, which enables you to update it.
Submit Usage Policy for Deprecation
A Usage Policy can only be deprecated if it is approved or published.
A deprecated usage policy cannot be assigned to a new usage plan. If an approved or published Usage Policy that is associated to a Usage Plan and has active subscribers is selected for deprecation, it will stay in effect until the end of the subscription validity period.
- Click the respective usage policy.
The screen appears as shown below.
- Click the Cogwheel icon.
The drop down appears as shown below.
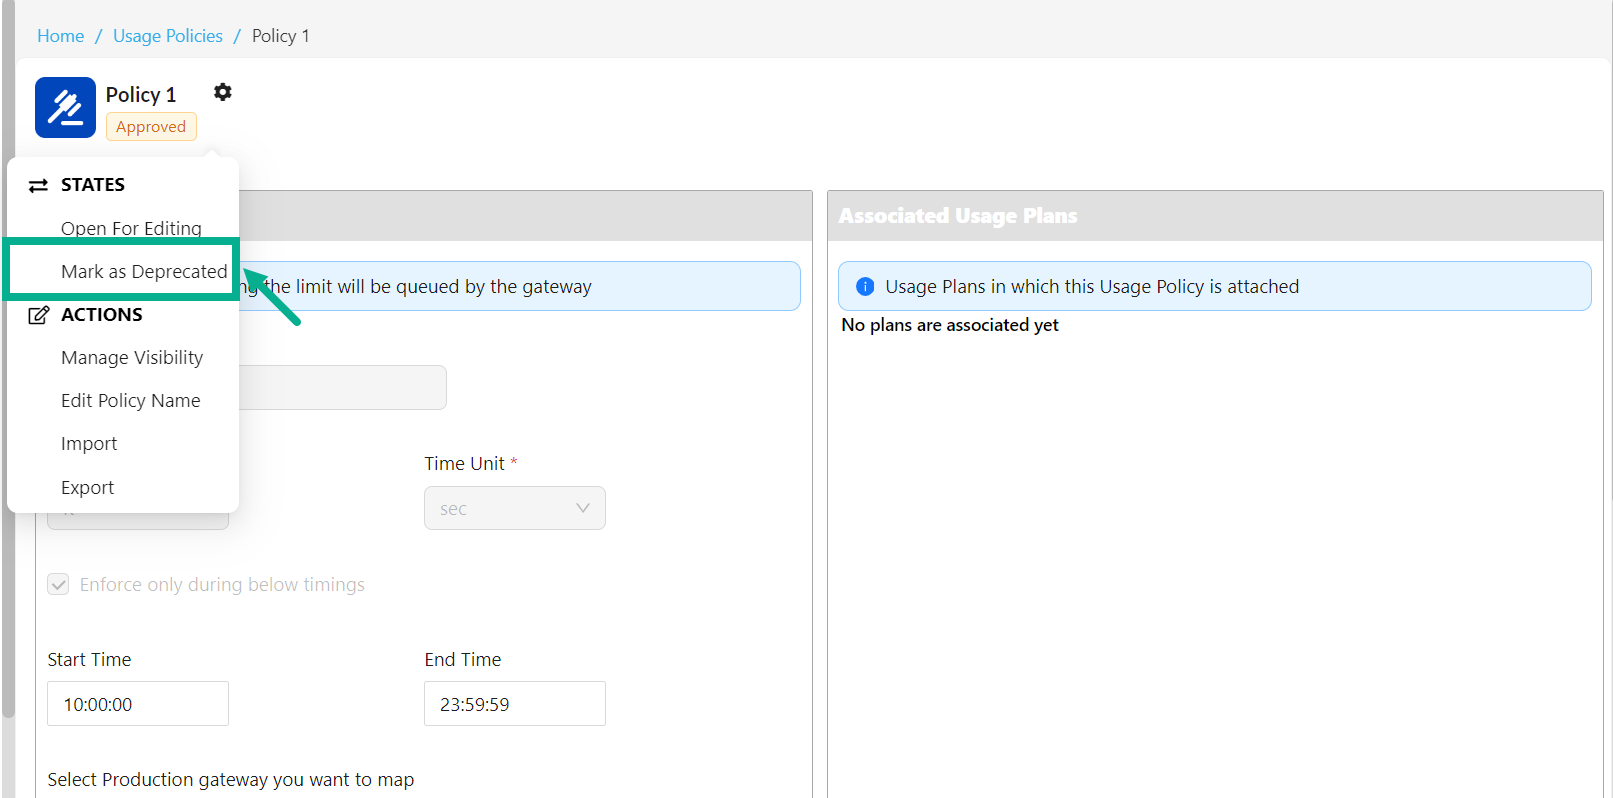
- Click Mark as Deprecate.
If the login user has the Automatic Approval Workflow enabled, the Deprecate button will appear instead of Mark as Deprecate.
- Click Deprecate button to deprecate the policy.
The dialog box appears as shown below.
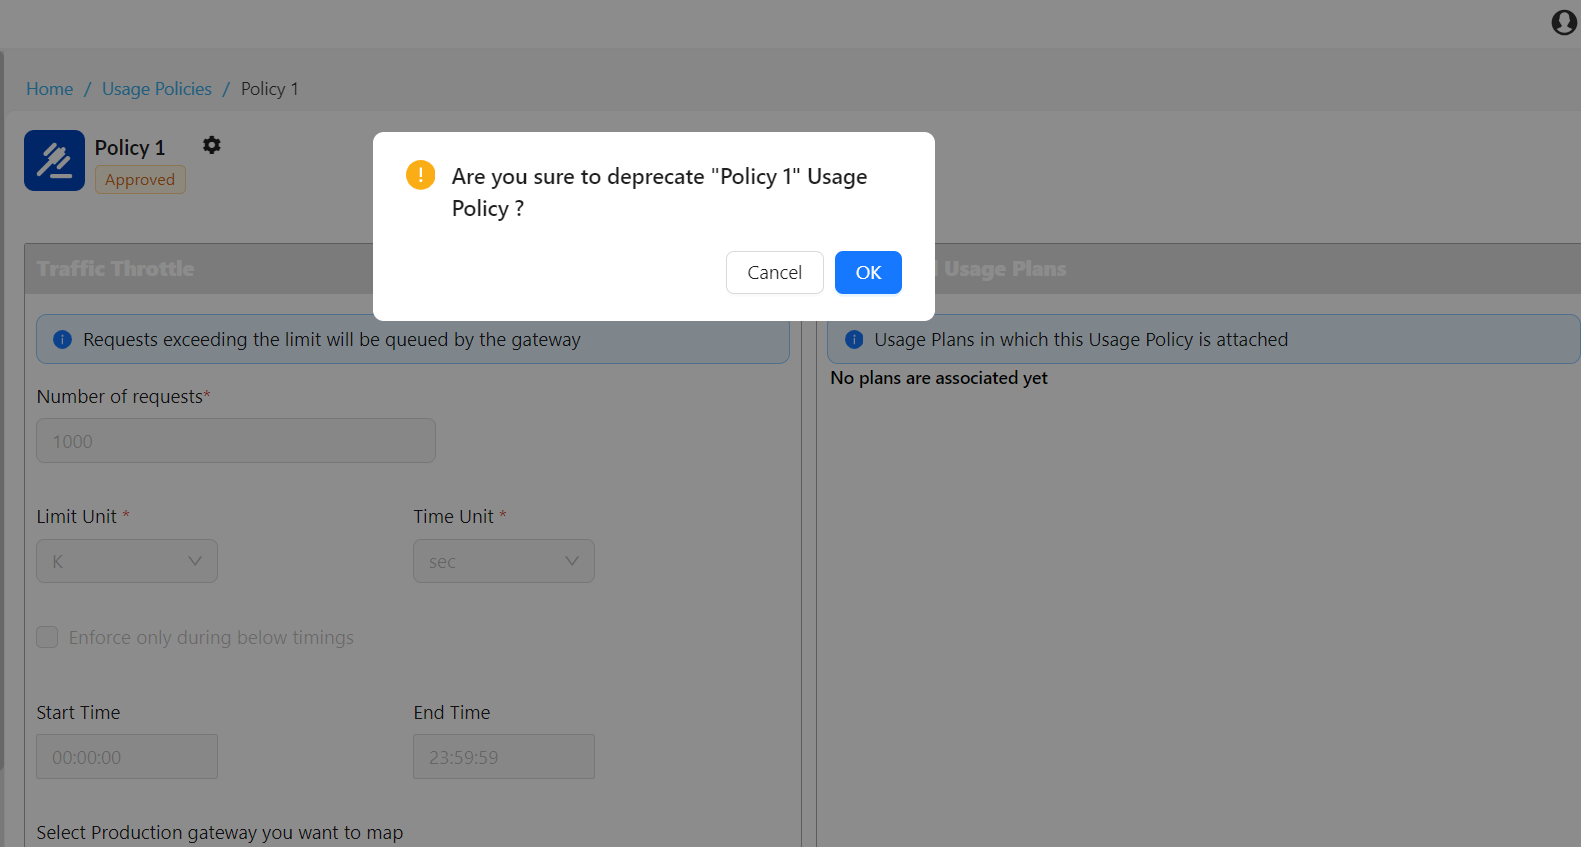
- Click OK.
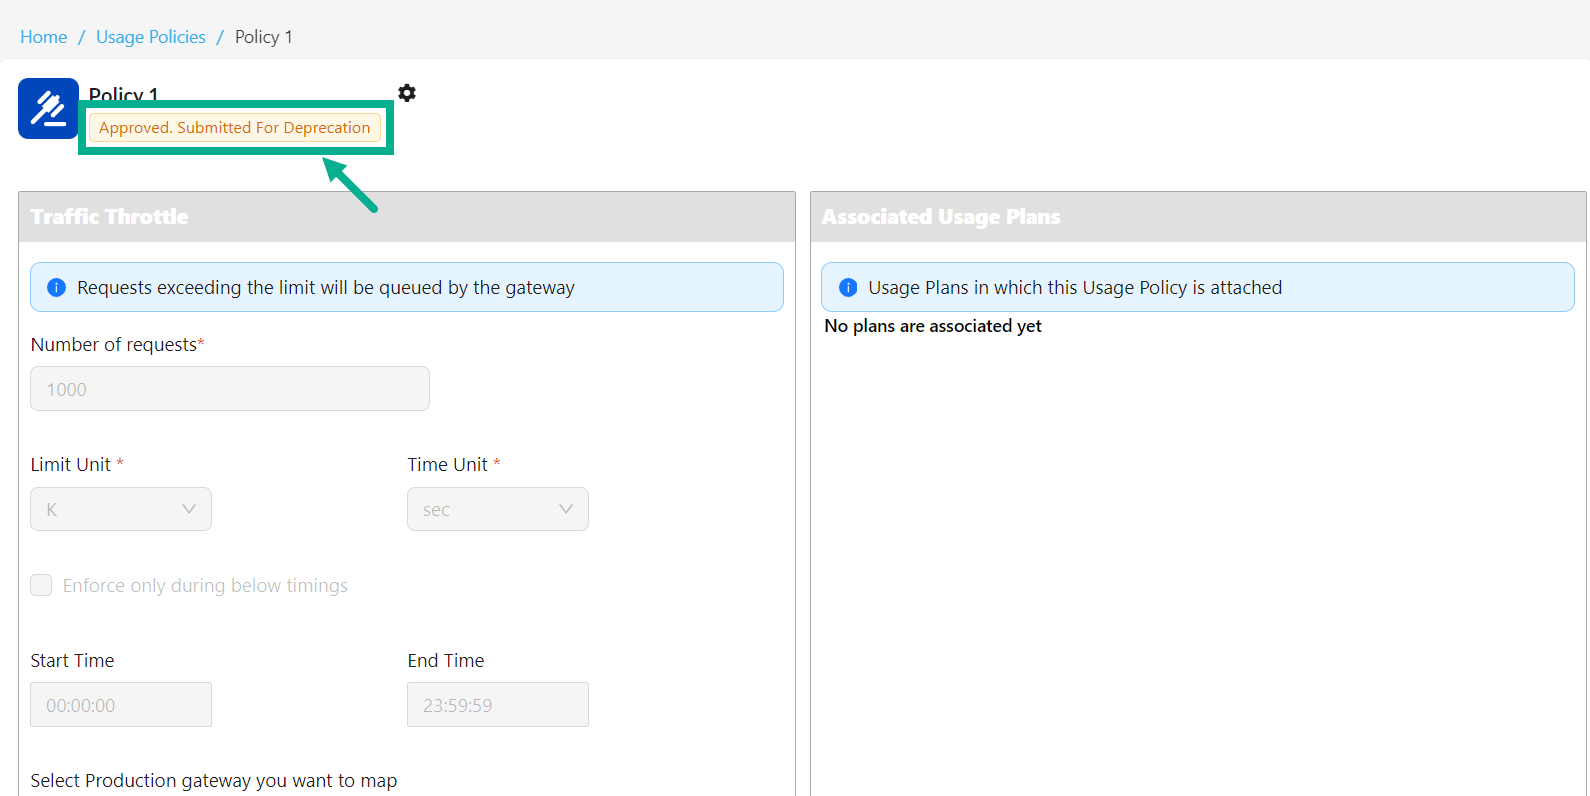
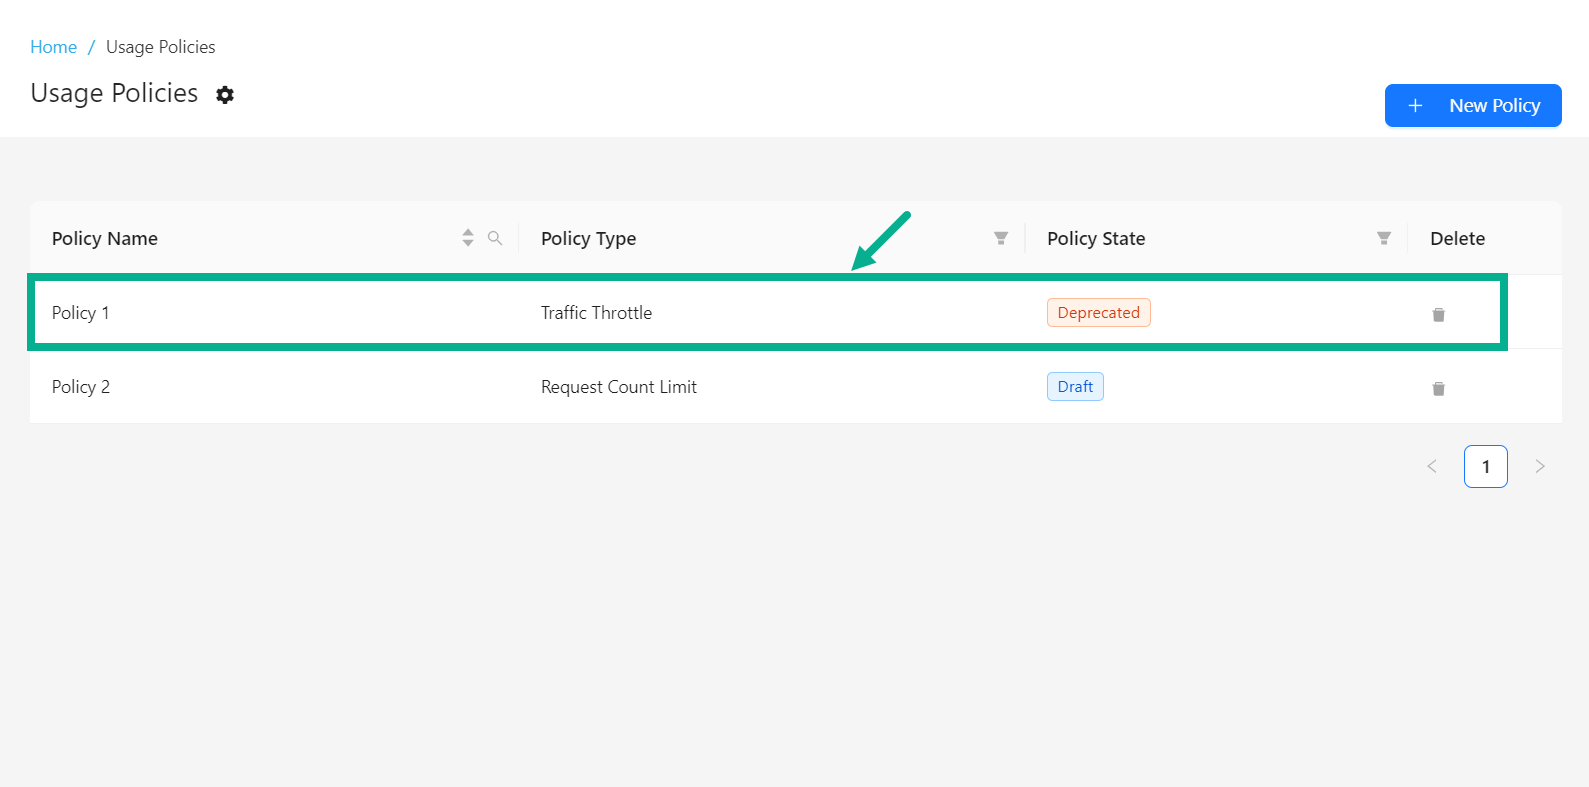
On proceeding, the policy is updated and displayed as shown below.
Submit Usage Policy for Retirement
If a Usage Policy is Deprecated, you can retire it. A Policy cannot be attached to a Usage Plan once it has been Retired. A Deprecated Usage Policy that is connected with a Usage Plan cannot be retired.
- Click the respective usage policy.
The screen appears as shown below.

- Click the Cogwheel icon.
The drop down appears as shown below.
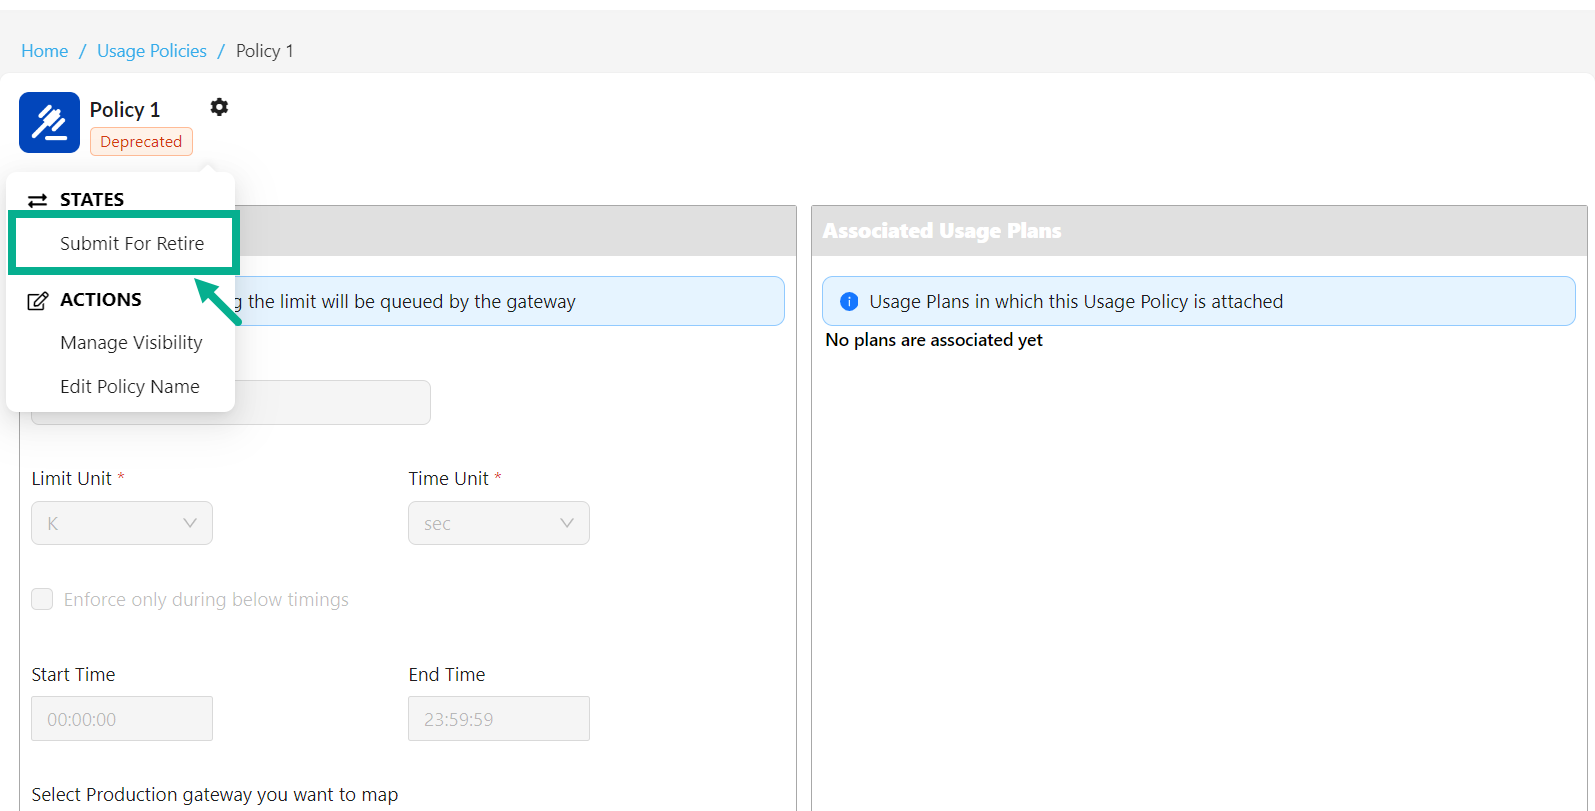
- Click Submit For Retire.
If the login user has the Automatic Approval Workflow enabled, the Retire button will appear instead of Submit For Retire.
- Click Retire button to deprecate the policy.
The dialog box appears as shown below.

- Click OK.
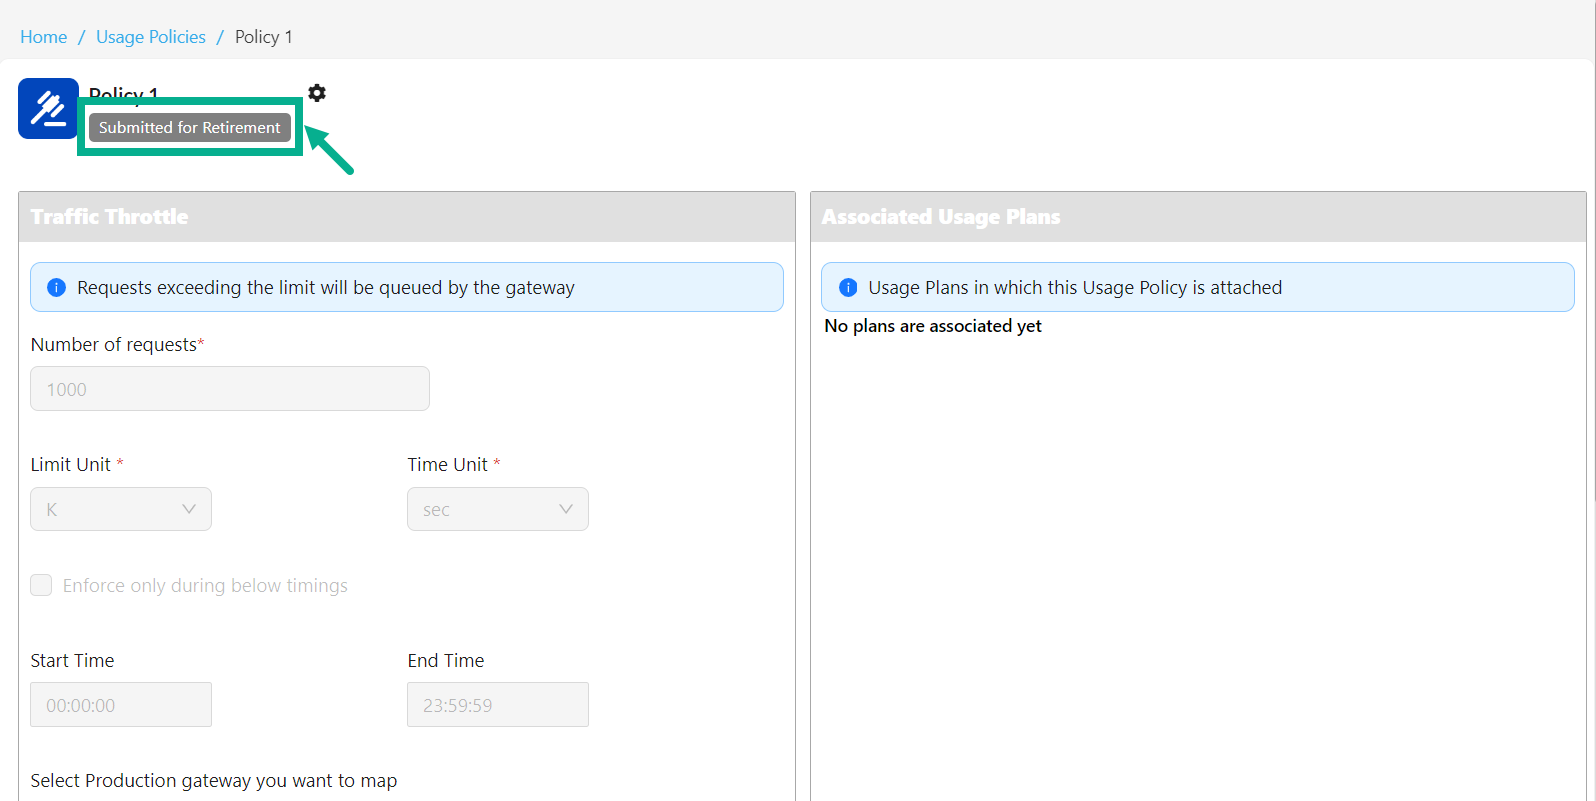
On proceeding, the policy is updated and displayed as shown below.